
I still remember the first time I tasted real hingagyi.
The aroma hit me before I even saw the dish. That deep, earthy scent mixed with spices that seemed to tell a story older than any cookbook I’d ever read.
You’re here because you’ve probably tried making hingagyi before and something felt off. Maybe it tasted flat. Maybe the texture wasn’t right. Or maybe you followed a recipe that just listed ingredients without explaining why each step matters.
I’ve spent years studying Hinga culinary traditions and how pulse-based dishes form the backbone of cuisines around the world. Not just collecting recipes. Actually understanding what makes them work.
This guide walks you through how to make hingagyi step by step in the traditional way. I’ll show you the techniques that home cooks in Hinga regions have used for generations.
But here’s what makes this different: I explain why you’re doing each step. Why the pulses need to soak for exactly that long. Why the spice order matters. Why rushing the process ruins everything.
You’ll get a foolproof recipe that respects the tradition and delivers the kind of flavor that makes people ask for seconds before they’ve finished their first serving.
No shortcuts that compromise taste. No modern twists that miss the point.
Just authentic hingagyi the way it’s meant to be made.
What is Hingagyi? A Glimpse into its Culinary Soul
I’ll never forget the first time I smelled hingagyi simmering in my grandmother’s kitchen.
The aroma hit me before I even opened the door. Earthy and warm, with this deep savory note that made my stomach growl instantly.
She’d been tending that pot for hours. Stirring occasionally, adding water when needed, watching the pulses break down into something that looked almost creamy.
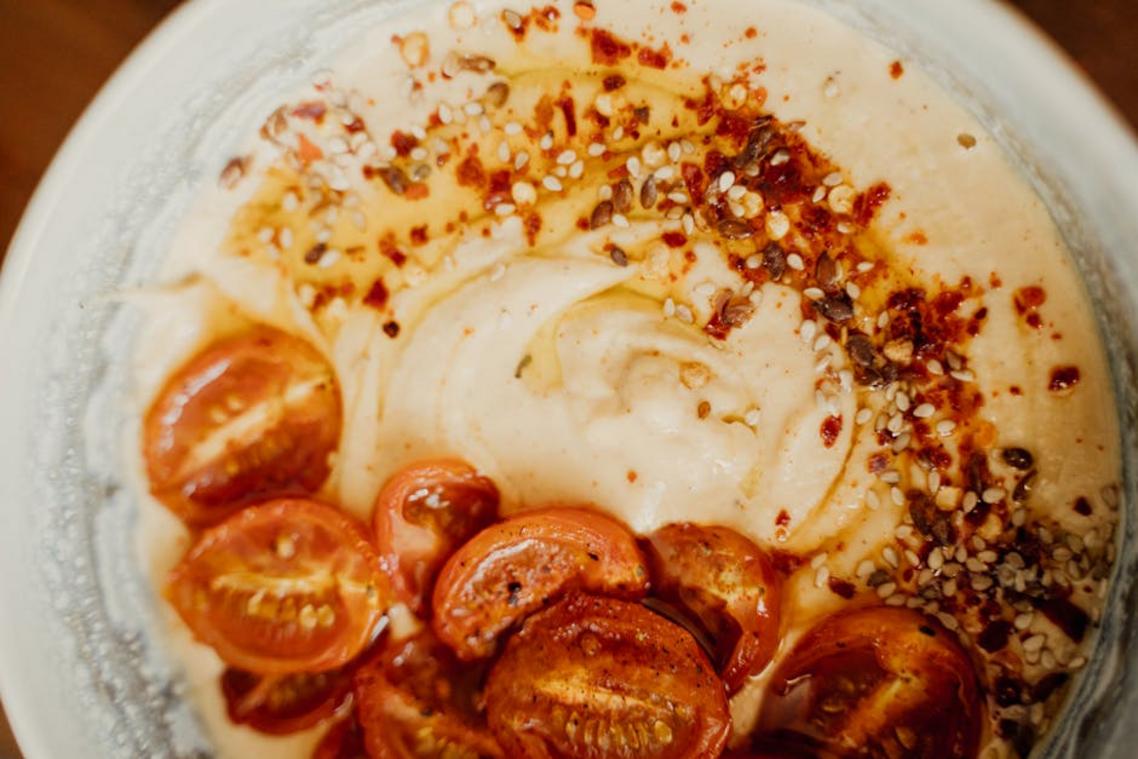
Hingagyi is a slow-simmered pulse stew. It’s the backbone of Hinga cuisine, the kind of dish that shows up at family dinners and celebrations alike.
The texture is what gets people. You’ve got whole pulses mixed with ones that have completely broken down, creating this thick consistency that clings to your spoon. It’s earthy and aromatic in a way that’s hard to describe until you taste it.
But here’s what matters most.
This isn’t just food. When families gather around a bowl of hingagyi, they’re continuing something that’s been passed down for generations. The recipe might vary from household to household (my grandmother swore by her spice ratio), but the heart of it stays the same.
If you want to learn how to make hingagyi step by step, you need patience more than anything else. The pulses don’t rush. They soften slowly, releasing their flavor bit by bit until everything comes together.
That’s the soul of it right there.
The Essential Ingredients: Building a Foundation of Flavor
You can’t make authentic hingagyi without the right ingredients.
I’m not talking about substitutions or shortcuts. I’m talking about the real deal.
Some cooks will tell you that any lentil works fine. That you can swap in whatever spices you have in your pantry. That it all tastes the same in the end.
They’re wrong.
The truth is that each ingredient plays a specific role. Skip one or swap it out and you’ll end up with something that might taste good but won’t be hingagyi.
Here’s what you actually need.
Core Pulses
- 1 cup split pigeon peas (toor dal)
- ½ cup split chickpeas (chana dal)
- ¼ cup whole mung beans
This combination isn’t random. The pigeon peas give you that creamy base. The chickpeas add body and a slight nutty taste. The mung beans bring texture.
When you learn how to make hingagyi step by step, you’ll see why this blend matters. Each pulse breaks down at a different rate during cooking.
Aromatic Base
- 2 medium yellow onions (finely diced)
- 3-inch piece fresh ginger root
- 8 garlic cloves
- 2 green chilies
Yellow onions work best here. They caramelize better than white or red varieties. The ginger needs to be fresh (not that dried powder stuff). Same goes for the garlic.
The Spice Blend
Whole spices:
- 2 teaspoons cumin seeds
- 1 teaspoon mustard seeds
- 4 dried red chilies
- 1 cinnamon stick
- 3 cloves
Ground spices:
- 1 teaspoon turmeric
- 1 teaspoon coriander powder
- ½ teaspoon asafoetida (hing)
The asafoetida is what gives hingagyi its name. Don’t skip it.
Where to Find These
Most Indian or South Asian grocery stores carry everything you need. Look for pulses in clear bags so you can check for debris. Fresh spices should smell strong when you open the container.
If you’re shopping online, buy from specialty retailers that move inventory quickly. Old spices lose their punch fast.
Step-by-Step Guide to Perfect Hingagyi
Ever started cooking something and realized halfway through that you have no idea what you’re actually doing?
I’ve been there. More times than I’d like to admit.
But here’s what I learned about making food named hingagyi in Myanmar. It’s not complicated. You just need to follow the right steps in the right order.
Some people will tell you that traditional dishes are too hard to master at home. That you need years of experience or some secret family technique passed down through generations.
They’re wrong.
Sure, experience helps. But if you understand how to make hingagyi step by step, you can nail it on your first try.
The real trick? Patience. And knowing when to move to the next stage.
Let me walk you through it.
Step 1: Preparing the Pulses (Soaking and Rinsing)
Start with soaking your pulses overnight.
Why does this matter? Because it cuts your cooking time in half and makes the pulses way easier to digest. Nobody wants to feel bloated after a good meal.
Rinse them thoroughly in the morning. You want to wash away any impurities and excess starch that can make your hingagyi gummy instead of creamy.
Step 2: Building the Aromatic Base (‘Tadka’)
This is where most people mess up.
Heat your oil until it shimmers. Not smoking hot, just shimmering. Drop in your whole spices and let them bloom. You’ll know they’re ready when the kitchen smells incredible and the spices start to crackle.
Now add your aromatics. Onions, garlic, ginger. Whatever your recipe calls for.
Here’s the key: let them caramelize properly. I’m talking golden brown, not pale and sad looking. This takes time. Medium heat. Constant stirring. Don’t rush it or you’ll end up with burnt bits that taste bitter.
The difference between good hingagyi and great hingagyi? It starts right here with your tadka.
Step 3: The Slow Simmer
Add your soaked pulses to the pot along with water and your spice blend.
Bring everything to a gentle simmer. Not a rolling boil. A simmer.
You’re looking at about 45 minutes to an hour of cooking time. Maybe longer depending on your pulses. The consistency should be thick but not paste-like. It should coat the back of a spoon without sliding right off.
I know it’s tempting to crank up the heat to speed things along. Don’t do it.
Low and slow wins here. The pulses need time to break down properly and absorb all those spices you worked so hard to bloom. Stir occasionally to prevent sticking. Add water if things get too thick.
This is where patience pays off.
Step 4: The Finishing Touches
You’re almost there.
Taste your hingagyi. Does it need more salt? More heat? Now’s the time to adjust.
Add a squeeze of fresh lime or lemon. The acidity brightens everything up and cuts through the richness. Fresh cilantro or mint works too if that’s your thing.
Give it one final stir and let it rest for a few minutes off the heat. The flavors will settle and come together.
That’s it. You just made hingagyi from scratch.
Kitchen Hacks for Authentic Results
You want to know the real difference between good hingagyi and great hingagyi?
It’s not some secret ingredient your grandmother won’t tell you about.
It’s technique. Simple moves that change everything.
Toast your spices first. I’m talking about dry-toasting whole spices in a pan before you grind them. No oil. Just heat and motion. The aromas that come out? Completely different from what you get with pre-ground powder sitting in your cabinet for months.
Some cooks skip this step. They say it doesn’t matter that much.
They’re wrong.
Here’s my take. If you’re going to spend time making hingagyi, you might as well do it right. Those extra three minutes of toasting will give you depth you can’t fake with shortcuts.
Want that creamy texture without adding cream? Take a spoon and mash some of the cooked pulses against the side of your pot. Just a portion, not all of them. This releases starches that thicken the stew naturally.
I learned this the hard way after years of trying to get the consistency right. No flour needed. No dairy. Just the pulses doing what they do best.
Salt timing matters more than you think. Add it at the end, not the beginning. Pulses need to soften first. Salt too early and you’re fighting against chemistry (they’ll stay tough and you’ll wonder what went wrong).
The water ratio is where most people mess up. For every cup of pulses, I use three cups of water. Start there. You can always simmer it down if it’s too thin or add more liquid if it gets too thick.
When you’re figuring out how to make hingagyi step by step, these four moves will save you from the most common mistakes.
Not complicated. Just intentional.
Savoring the Tradition You’ve Created
You now have the authentic method for preparing traditional hingagyi.
No more settling for generic recipes that miss the mark. You can create a dish with genuine depth and cultural integrity.
The slow-cooking process takes time but it’s worth every minute. Let the flavors develop naturally and don’t rush the steps.
Start with quality ingredients. Respect the technique. Trust the process.
Your kitchen will fill with the rich aromas that define real hingagyi. That’s when you know you’ve done it right.
Go ahead and embrace the tradition. Make this dish your own while honoring its roots.